English
 Arabic
 French
 Spanish
 Portuguese
 Deutsch
 Turkish
 Dutch
Dutch
 Italiano
 Russian
 Romaian
 Portuguese (Brazil)
 Greek
Greek
How to Contact Coinme Customer Service: Your Ultimate Support Guide
Fitness |
2025-04-22 10:32:01
 Social Networth OS
 Creator Commerce
 Launch Startup
 Global News
 Creator Award
 Talkfever App
δες τα όλα
Talkfever App
δες τα όλα

Upgrade to Pro
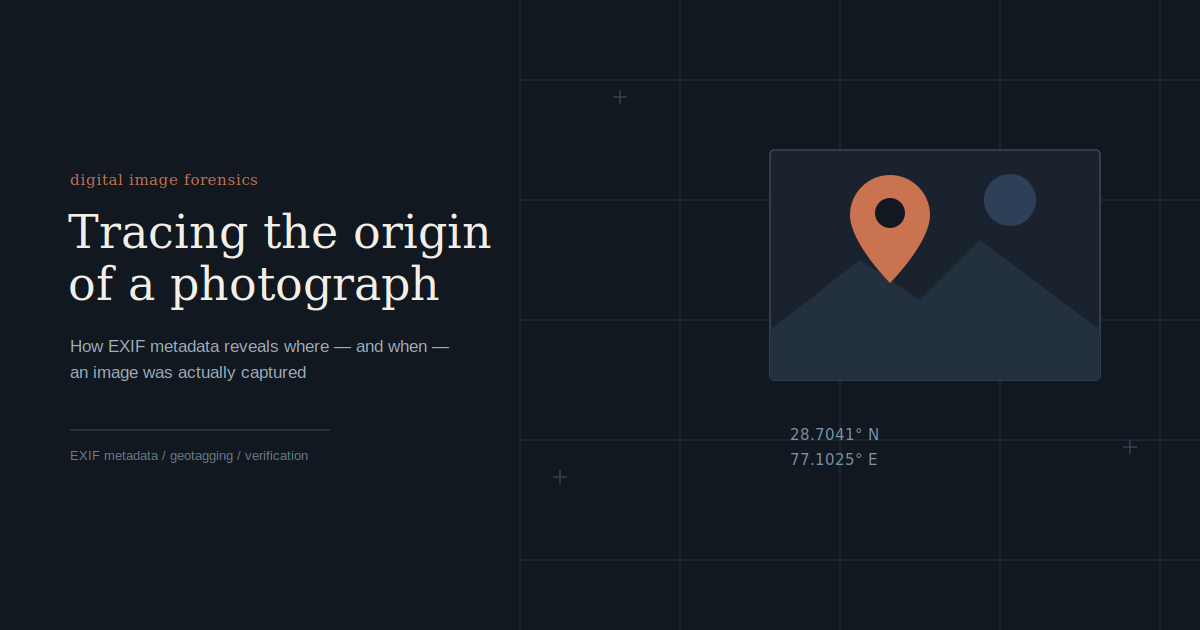
Every photograph taken on a modern smartphone or GPS-enabled camera carries more than just the visible image — it carries a hidden record of when and where it was captured. This record, embedded as metadata, has become an essential resource for investigators, journalists, and everyday users trying to verify the origin of an image.
When a camera's location services are switched on, the device writes latitude, longitude, and sometimes altitude directly into the photo's EXIF (Exchangeable Image File Format) fields, alongside technical details like shutter speed, aperture, and ISO. This data travels with the file unless something strips it away.
Location metadata is fragile. It can vanish for several reasons:
Location services were turned off at the moment of capture
The image was compressed or edited through an app that discards metadata
The photo passed through a messaging or social platform that scrubs EXIF fields for privacy
The file is actually a screenshot, which never contains camera-generated GPS data to begin with
Most operating systems offer a built-in way to inspect this information:
Android — open the image in the gallery app, tap the three-dot menu, and select the details/info view
iPhone — open the photo, tap the "i" icon, and the coordinates will appear alongside a map preview
Windows — right-click the file, choose Properties, then the Details tab, and scroll to the GPS section
Mac — right-click and choose "Get Info," or use the "i" button inside Preview to reach the GPS tab
Once you have the latitude and longitude, pasting them into a mapping service will pinpoint the exact spot the picture was taken, provided the coordinates weren't altered after the fact.
Consumer-level metadata viewers work well for casual use, but they have limits. They can't recover GPS data that's already been stripped, they don't flag metadata that's been deliberately falsified, and they're impractical when someone needs to process hundreds of images from an email archive or case file at once. This is where a step-by-step walkthrough on locating a photo's origin becomes useful groundwork before moving into a more rigorous, investigation-grade workflow — a topic covered in detail in this guide on how to find out where a photo was taken.
For digital investigators, the stakes are different. Metadata can be forged, timestamps can be manipulated, and images can be re-saved specifically to erase evidence of their origin. In these situations, relying on a phone's built-in "info" panel isn't enough — the analysis needs to be systematic, verifiable, and capable of handling bulk evidence rather than one photo at a time. Purpose-built platforms designed for this kind of case work, such as the investigative suite available through email forensics tool, are built to extract, cross-check, and map geolocation data at scale while preserving chain-of-custody integrity.
For a single personal photo, checking the built-in metadata viewer on your phone or computer is usually enough to answer "where was this taken?" But once accuracy, scale, or evidentiary reliability matter, moving to a dedicated forensic workflow is the only way to be confident the location data hasn't been tampered with.