English
 Arabic
 French
 Spanish
 Portuguese
 Deutsch
 Turkish
 Dutch
Dutch
 Italiano
 Russian
 Romaian
 Portuguese (Brazil)
 Greek
Greek
 Creator, Content & Commerce (3C)
 IMS for Investors
 Global News
 Vdo Junction
 Talkfever App
Global Sucrose Stearate Market Set to Hit USD 198.7 Million by 2032 at 6.3% CAGR
Uncategorized |
2026-06-10 12:08:51
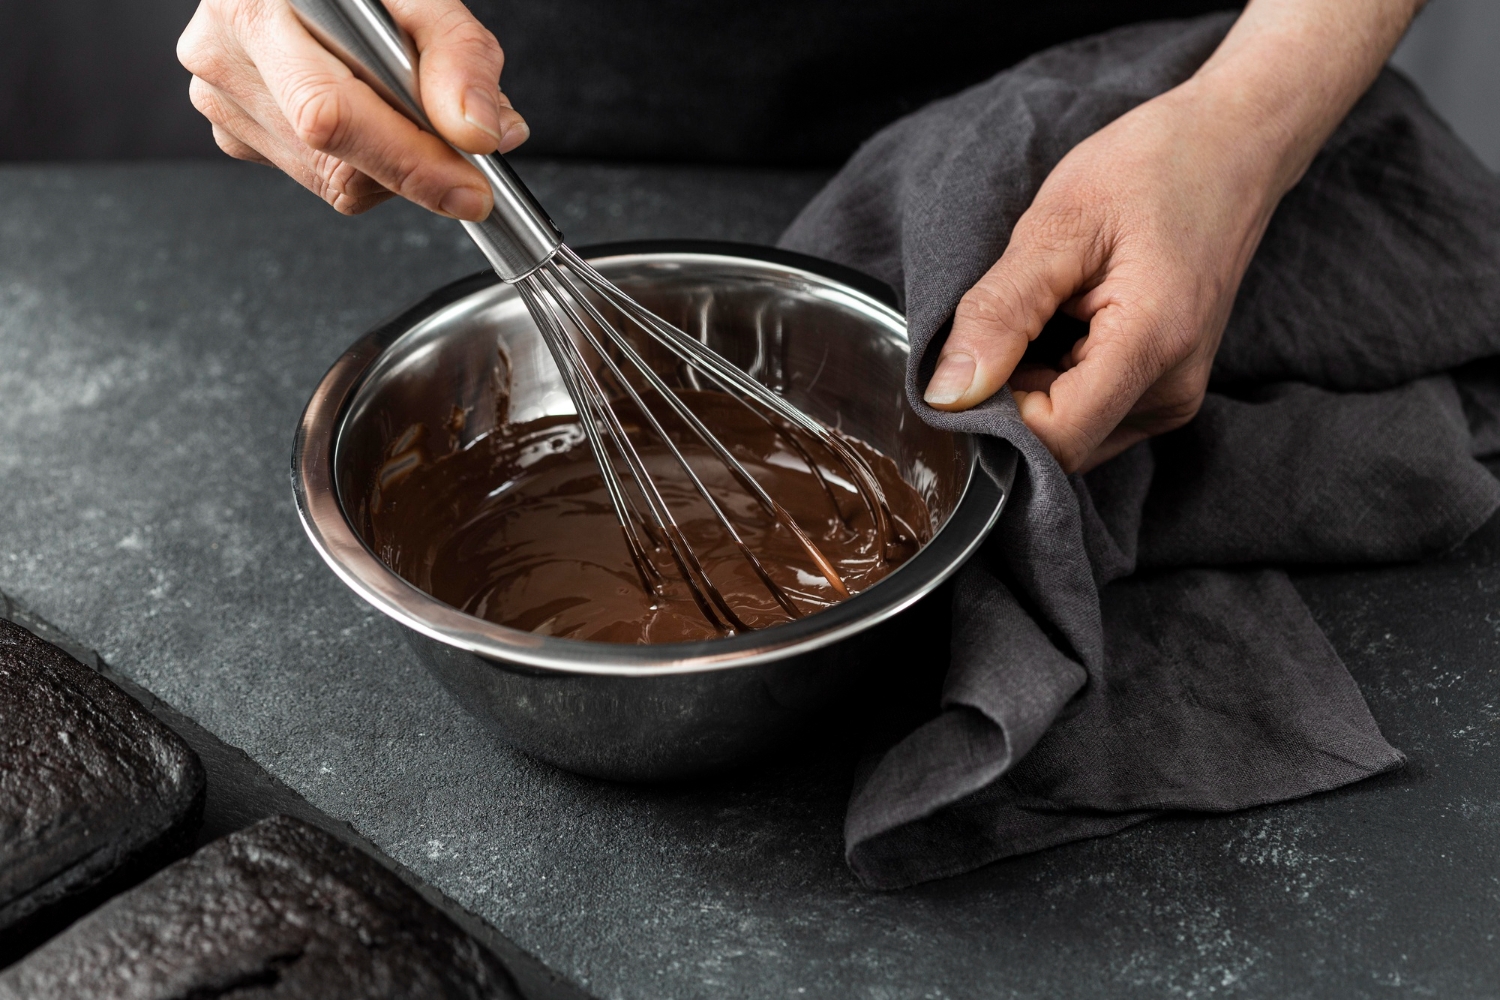
Chocolate tempering is an essential technique in the world of baking and confectionery. It is the process of heating and cooling chocolate in a controlled way so that the cocoa butter forms stable crystals. This ensures that the chocolate sets with a glossy finish, firm texture, and a satisfying snap. Without proper tempering, chocolate can look dull, melt too easily, or develop white streaks known as bloom.
There are several chocolate tempering methods used by chocolatiers and home bakers, but three main techniques are considered the most popular and reliable: the seeding method, the tabling method, and the microwave method. Each approach follows the same scientific principles but differs in tools, skill level, and working style.
Before learning the techniques, it is important to understand why tempering matters. Chocolate contains cocoa butter, a natural fat that can crystallize in multiple forms. Only one type of crystal structure produces the ideal qualities of shine, smoothness, and stability.
The goal of tempering is to eliminate unstable crystals and encourage the formation of stable ones through careful temperature control and continuous stirring. When done correctly, tempered chocolate becomes easier to mold, coat, and decorate.
The seeding method is the most commonly used technique, especially among beginners and home bakers. It is simple, reliable, and requires minimal equipment.
In this method, a portion of unmelted chocolate is added to melted chocolate to “seed” it with stable crystals. These crystals help guide the cooling process and ensure proper tempering.
First, about three-quarters of the chocolate is melted using a double boiler or microwave. The chocolate is heated until it reaches its melting temperature—usually around 45–50°C for dark chocolate.
Next, the remaining chopped chocolate is gradually added while stirring continuously. This cools the mixture and introduces stable cocoa butter crystals.
Finally, the chocolate is gently reheated to its working temperature, typically around 31–32°C for dark chocolate.
Easy to learn and execute
Requires basic kitchen tools
Produces consistent results
Because of its simplicity and effectiveness, the seeding method is often recommended as the best starting point for beginners exploring tempering chocolate methods.
The tabling method is a traditional technique widely used by professional chocolatiers. It requires skill, practice, and a marble or granite surface.
In this method, melted chocolate is poured onto a cool stone surface and worked with spatulas to lower its temperature and develop stable crystals.
First, chocolate is fully melted until it reaches the correct temperature. Then, about two-thirds of the melted chocolate is poured onto a marble slab.
Using two spatulas, the chocolate is spread and scraped repeatedly. This motion cools the chocolate and encourages crystal formation.
Once the chocolate thickens slightly, it is returned to the remaining warm chocolate and mixed thoroughly to reach the final working temperature.
Allows precise control over crystal formation
Produces highly stable temper
Preferred in professional chocolate production
Although this technique delivers excellent results, it requires experience and proper workspace, making it less suitable for beginners.
The microwave method is a quick and convenient technique ideal for small batches of chocolate. It is especially popular among home bakers who do not have specialized equipment.
Chocolate is heated in short microwave intervals while being stirred frequently to control temperature and encourage stable crystal formation.
Chopped chocolate is placed in a microwave-safe bowl and heated in 15–20 second bursts. After each interval, the chocolate is stirred thoroughly to distribute heat evenly.
As the chocolate approaches melting temperature, stirring becomes even more important. The residual heat helps melt remaining pieces while preventing overheating.
Once the chocolate reaches the correct working temperature, it is ready for use.
Fast and convenient
Requires no special equipment
Suitable for small quantities
This is one of the easiest methods of tempering chocolate, particularly for casual baking and simple chocolate projects.
Each tempering method has its own benefits, and the best choice depends on your needs and experience level.
Beginners usually prefer the seeding method due to its simplicity.
Professional chocolatiers often use the tabling method for precision.
Home bakers frequently rely on the microwave method for convenience.
Regardless of the technique, the key to success lies in controlling temperature carefully and stirring consistently.
Even when using the right method, certain mistakes can affect results:
Overheating chocolate
Allowing water to contact chocolate
Skipping temperature checks
Not stirring enough during cooling
Using a thermometer and working patiently can help avoid these issues.
Tempering chocolate is both a science and an art. While it may seem challenging at first, understanding the three main methods makes the process much easier. Whether you choose the seeding method, tabling method, or microwave technique, mastering tempering allows you to create chocolates with professional shine, smooth texture, and perfect snap.
With practice and attention to temperature control, anyone can successfully temper chocolate and elevate their baking or confectionery creations to a whole new level.